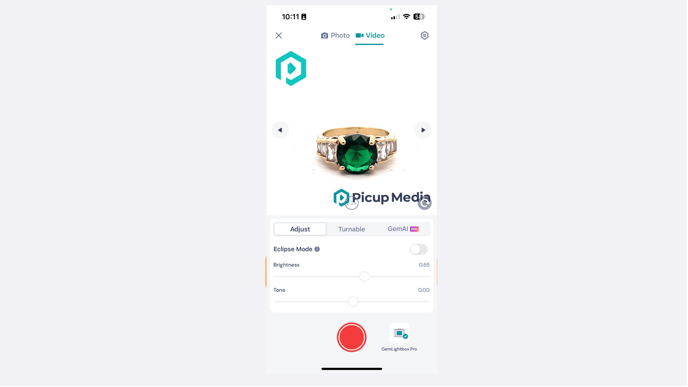
The Logo feature in the GemLightbox app lets you easily upload and position your own logo or watermark on images and videos. Fine-tune the opacity for just the right blend of visibility and style.
Inserting A Logo
You can insert a logo now while shooting a video or taking an image.
Launch the GemHub on mobile and tap on the capture button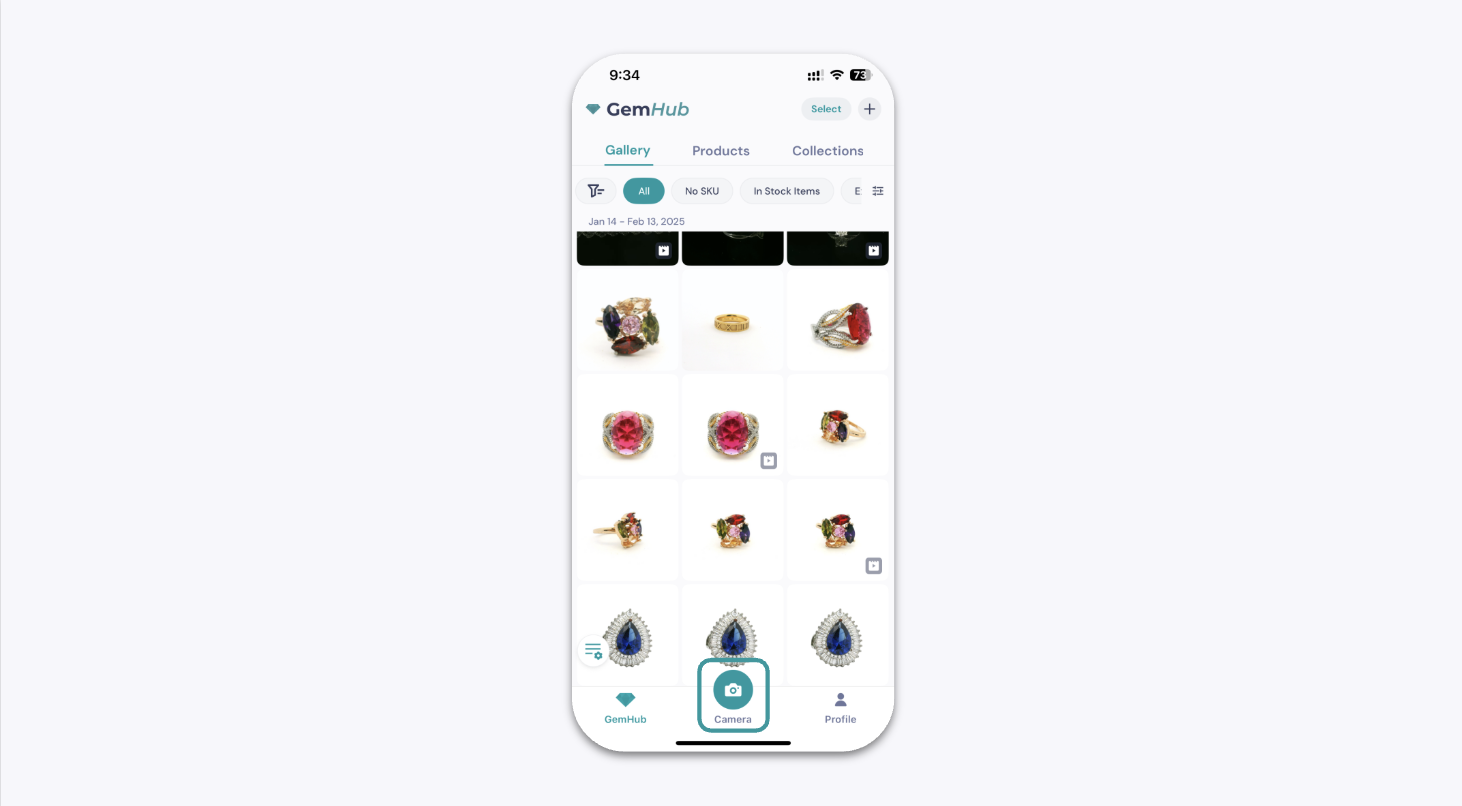
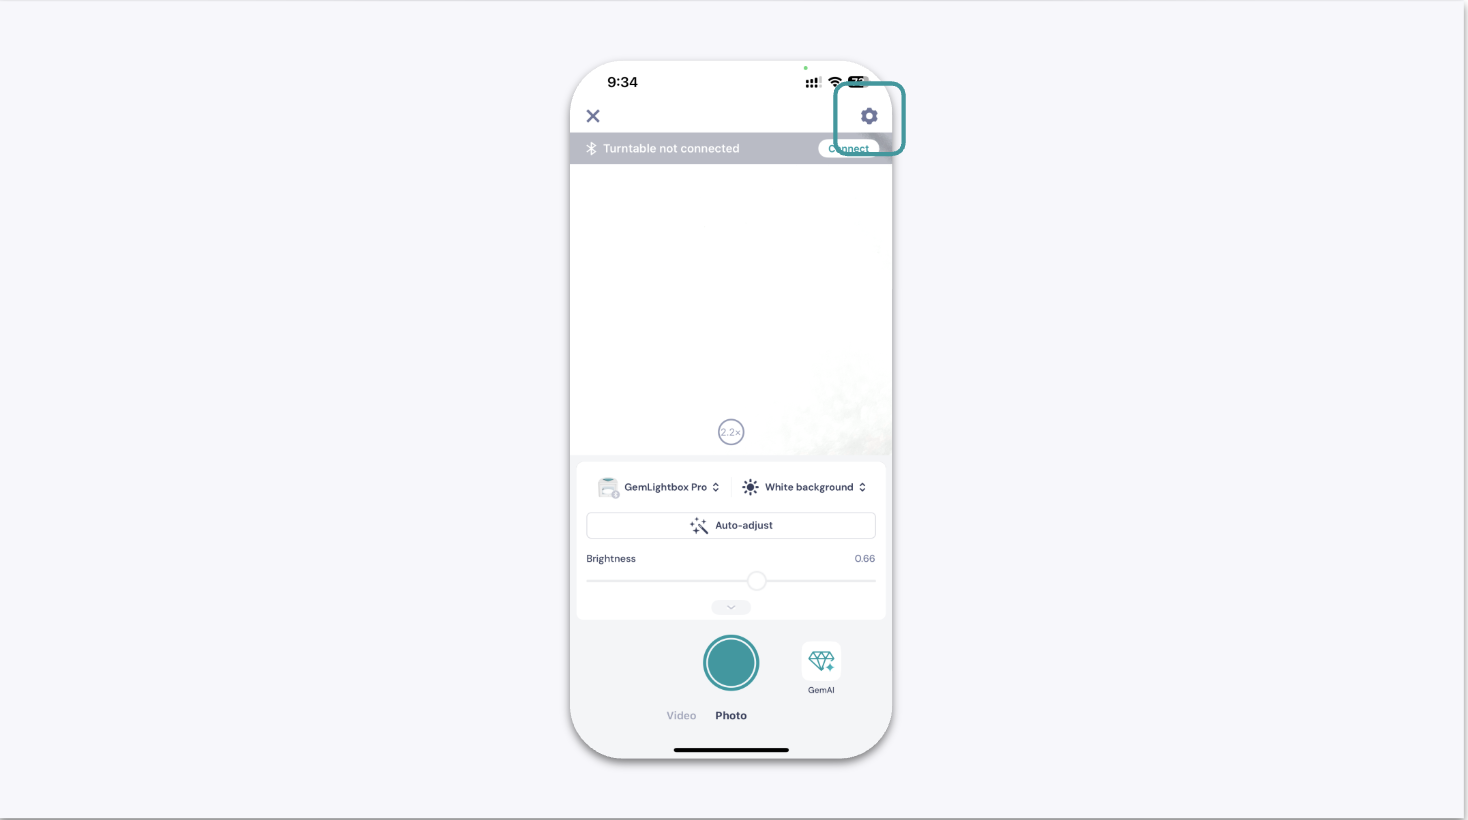
Click on the settings icon ⚙️ to launch the camera settings menu:
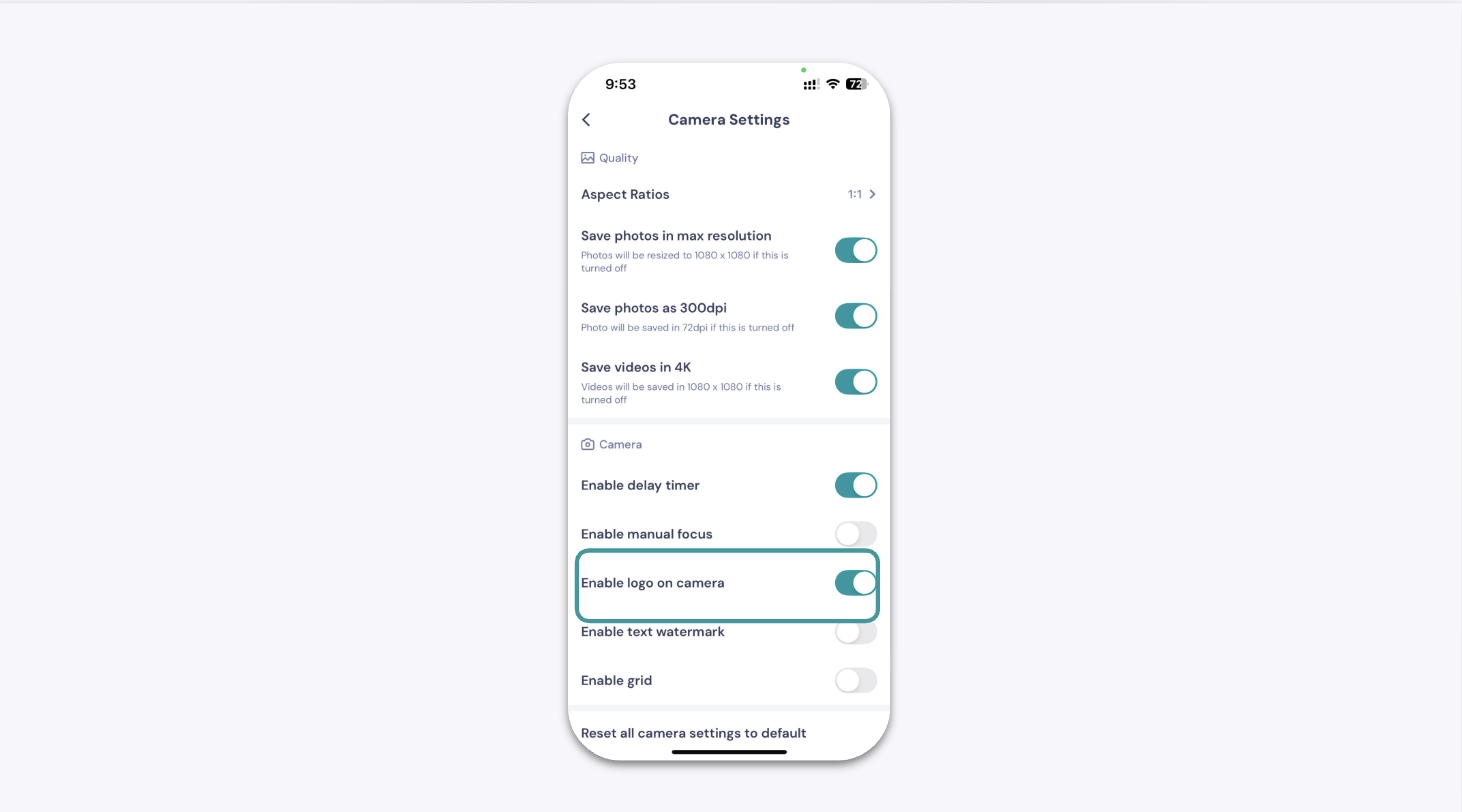
Navigate through the camera settings menu and locate the option labeled "Enable logo on camera."
Select the option to initiate the logo editing function. Then, click on the 'Add Logo' button to upload new logos.


- Rotate Button - This will allow you to change the direction of the logo
- Pinch Button - This will allow you to change the size of the logo
- Hold and Drag - Hold and drag the logo to adjust it to your preferred position
- Cross (X) Button - This will delete the logo
- Change Logo Button - This will allow you to change your logo
Adding a second logo
You will be able to add up to 2 logos in total, allowing you to customize your branding for both product and catalog links.
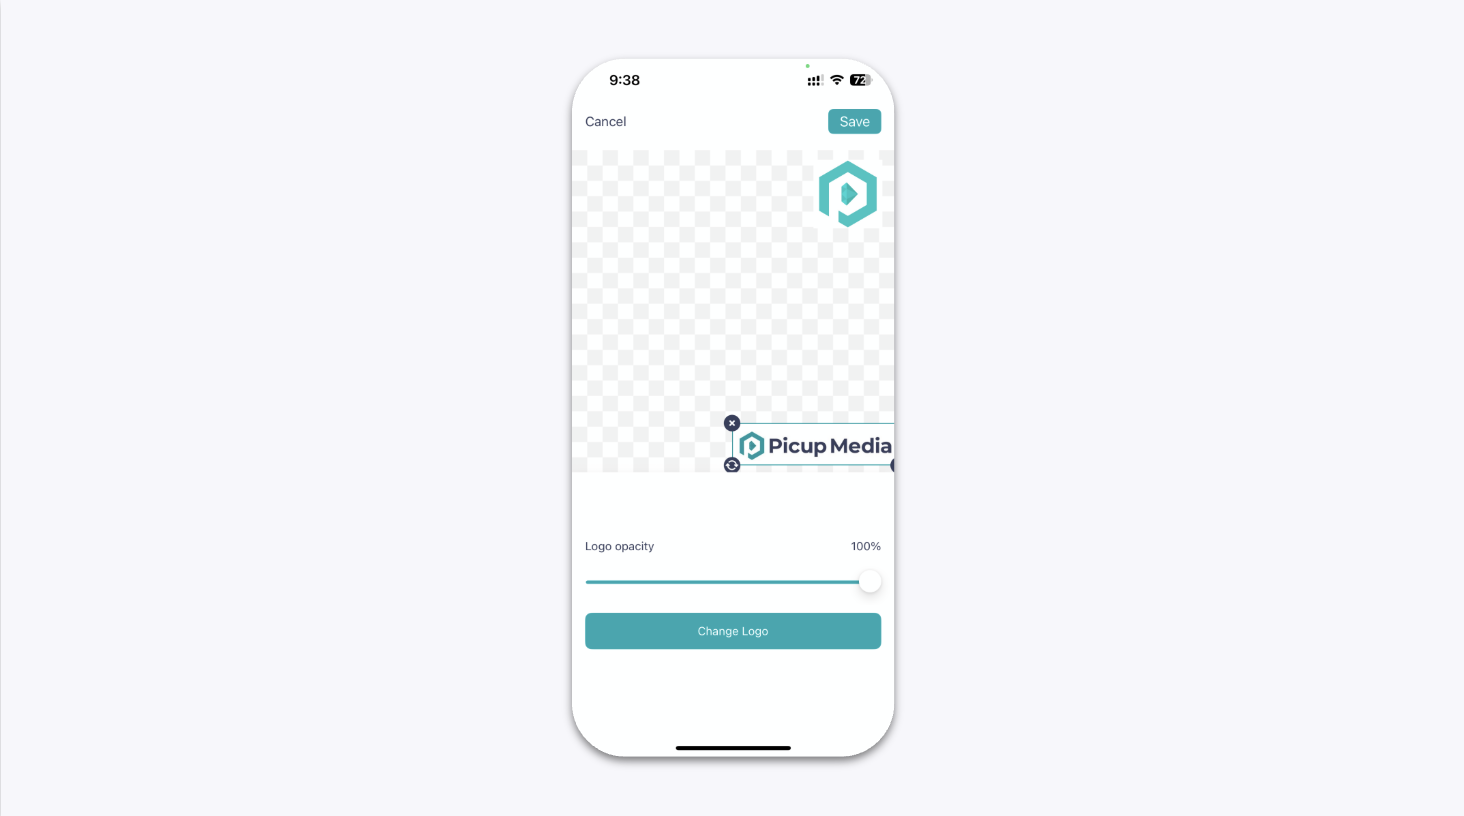
Adjusting for logo opacity
The logo opacity option allows users to adjust the transparency of each logo to achieve their desired appearance.
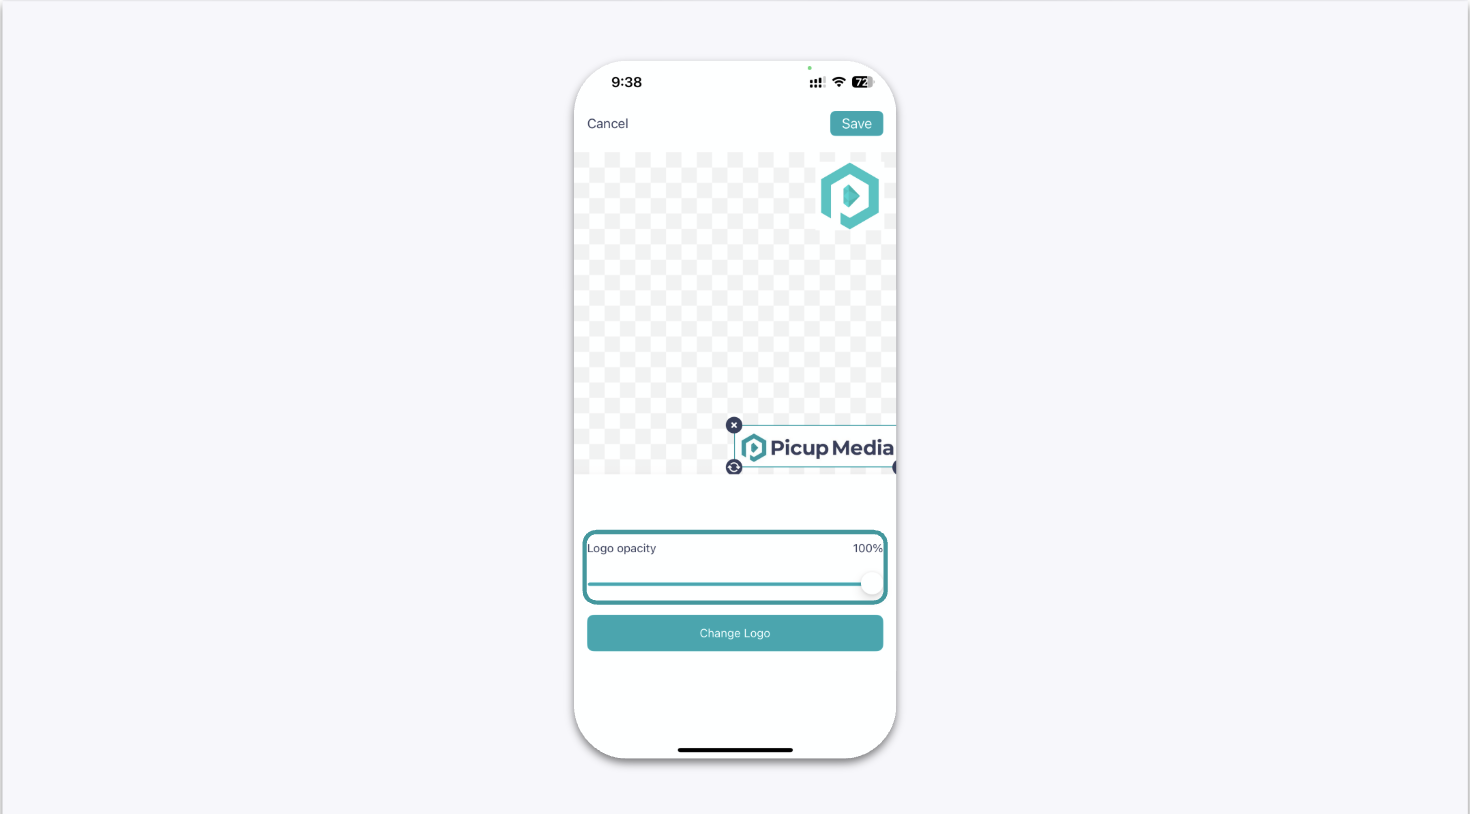
Simply click and drag the sliders to adjust for the logo's transparency.
Once you are done, click on Save to confirm the position and appearance of the logo and you will see the logos appear in the capture screen after.
