The GemHub image editor allows you to edit, resize and crop your images.
Resize Your Image
GemHub’s image editor makes it easy to resize images with precision. You can quickly adjust dimensions by dragging the corners of the selected image.
Accessing the Image Editor
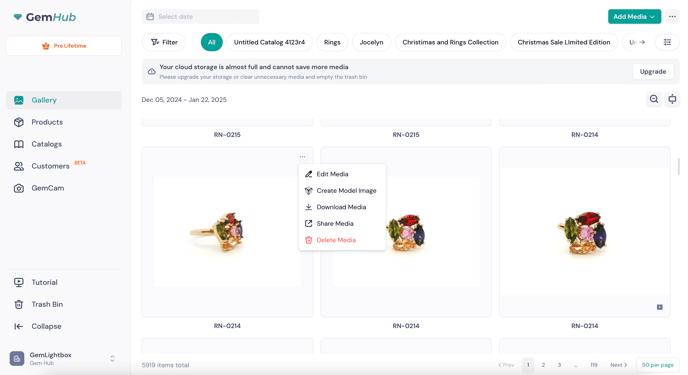
In the Gallery, hover over the image you wish to resize. Click the three-dot menu and select Edit Media to open the image editor.

Selecting and Resizing the Image
Click on the image and square handles will appear around the edges, indicating that the image is selected.
To resize, click and drag any corner handle inward or outward to adjust the dimensions. Be sure to hold down the cursor while dragging for a smooth resizing experience.-gif.gif?width=688&height=387&name=Untitled%20design%20(3)-gif.gif)
Saving Your Resized Image
Once you’re satisfied with the new size, click Save. You can either:
-
Save Changes to overwrite the existing image, or
-
Save as New Media to create a new version. Newly saved media will appear at the top of your Gallery.
Cropping Images in GemHub
Cropping is a useful way to remove unwanted areas and highlight the most important parts of your image. With the GemHub Image Editor, cropping can be done quickly and precisely.
Opening the Image Editor
In the Gallery, hover over the image you want to edit. Click the ellipsis icon (⋯) and select Edit Media to open the image editor.
Accessing the Crop Tool
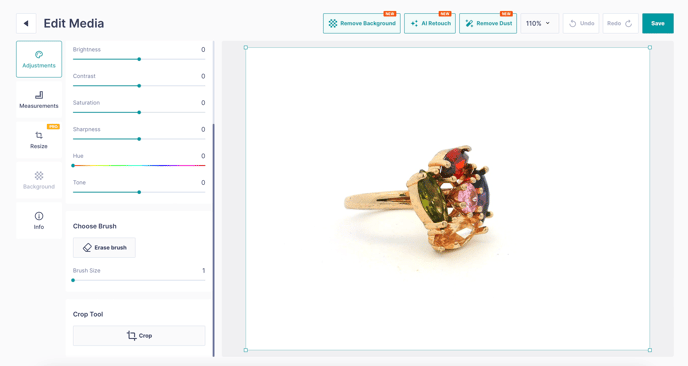
The Crop Tool is located at the bottom left of the editor. Click the Crop button to activate it.
Adjusting the Crop Area
Once activated, crop handles will appear around the image. Click and drag the corners or sides to define the desired crop area.
-gif.gif?width=678&height=381&name=Untitled%20design%20(1)-gif.gif) When you're satisfied with the selected area, click Crop to apply the changes. The areas outside your selection will be removed.
When you're satisfied with the selected area, click Crop to apply the changes. The areas outside your selection will be removed.Click Save to complete the process. The cropped image will be saved as new media and appear at the top of your Gallery.
Resize Your Canvas
Resizing the canvas while editing jewelry enhances flexibility and highlights unique features, helping your pieces stand out.
Click on Resize
In the GemHub Image Editor, click on the "Resize" button.
Adjust the canvas size
-gif.gif?width=688&height=387&name=Untitled%20design%20(2)-gif.gif)
There are three ways to adjust the canvas size :
Manually adjust the size of the canvas
Click and drag the canvas handles to the desired size.
Custom Dimensions
Use the Custom width and height box to specify the size you want your canvas to be in.
Preset Sizes
Select from a series of the most used sizes across social and marketplace platforms.
Simply select the size you want from the dropdown list, and the canvas will be automatically resized.