A guide to individual and bulk update of SKU.
SKU (Stock Keeping Unit) is a distinctive alphanumeric identifier utilized in inventory management to denote a specific product. For instance, one might create a SKU by combining the initial three letters of the product name with a sequence of numbers.
Below are the steps to assign, modify, or delete SKUs within the GemHub.
Creating and Assigning SKUs
You now have the functionality to create and assign SKUs simultaneously in the GemHub.
To proceed, access the Gallery of the GemHub and select the image to which you wish to assign a SKU.
For bulk assigning of images to the same SKU, you can also select more than one image at a time.

Next, click on the Assign SKU button and a window prompt will appear.

Enter the SKU that you prefer and click on confirm. 
Your image will now be updated with the latest SKU.
Viewing SKU
You will now be able to view the SKU of the product directly on the Gallery or Products section in GemHub.
SKU details in Gallery

SKU details in Products

Editing SKUs
You can edit SKUs directly from the product details page too.

In the SKU field, simply update it with your preferred SKU and click Save Product.
Disassociating SKUs
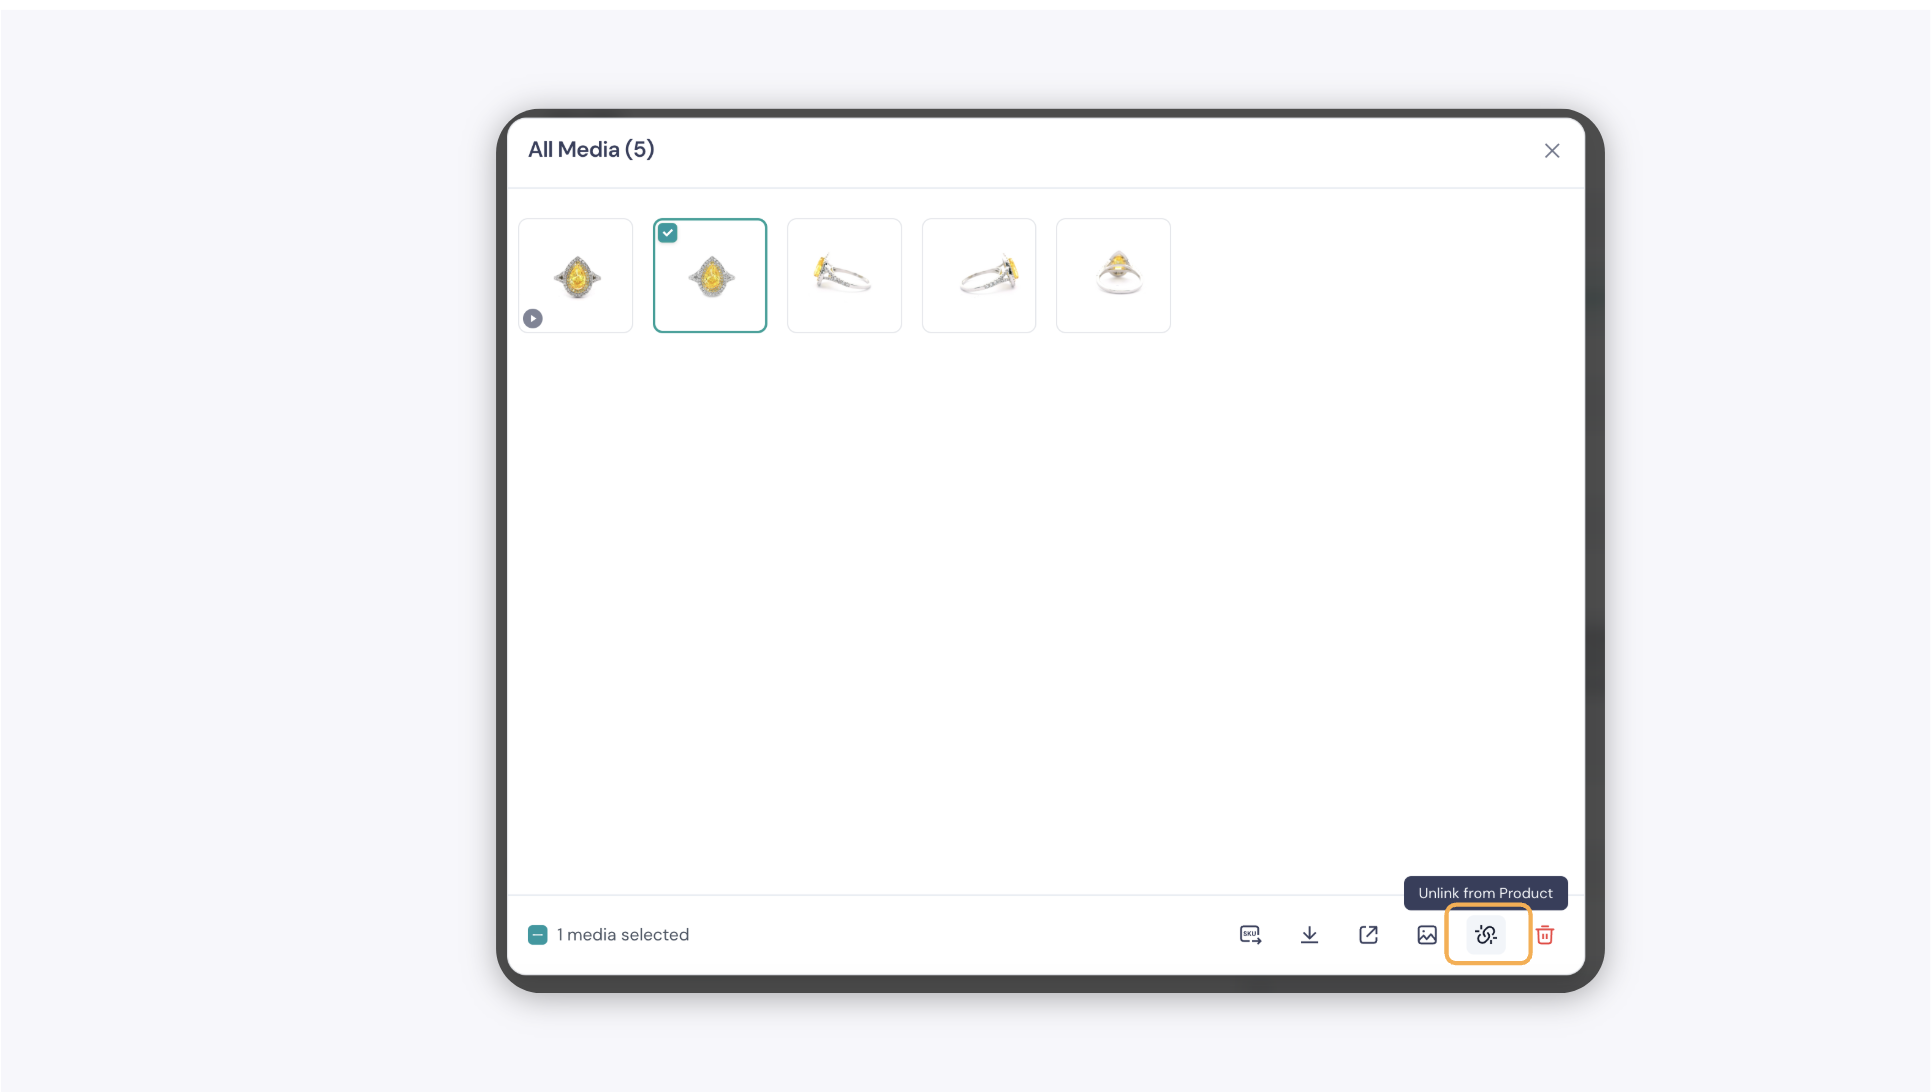
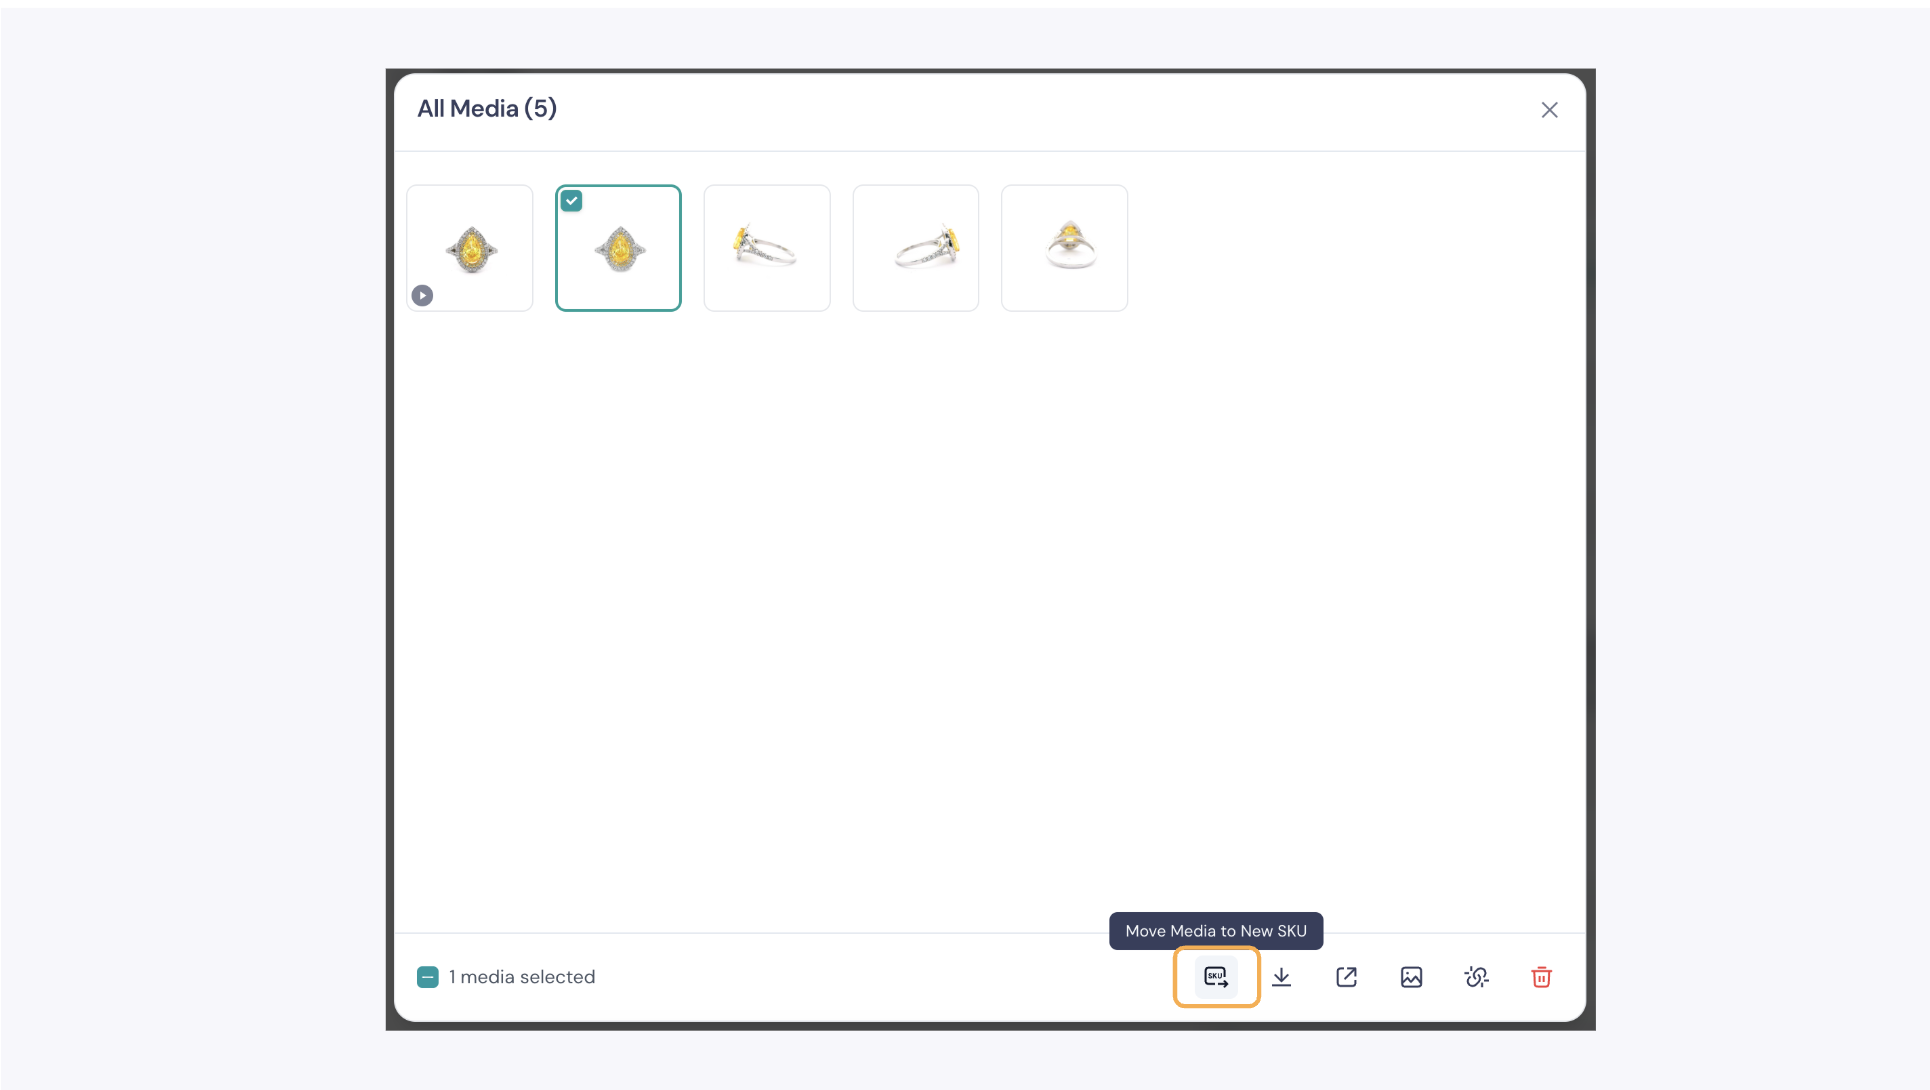
You can disassociate an image within a product by removing or reassigning a new SKU to the image as well.
In the product, click on the Manage button and a window will appear.


