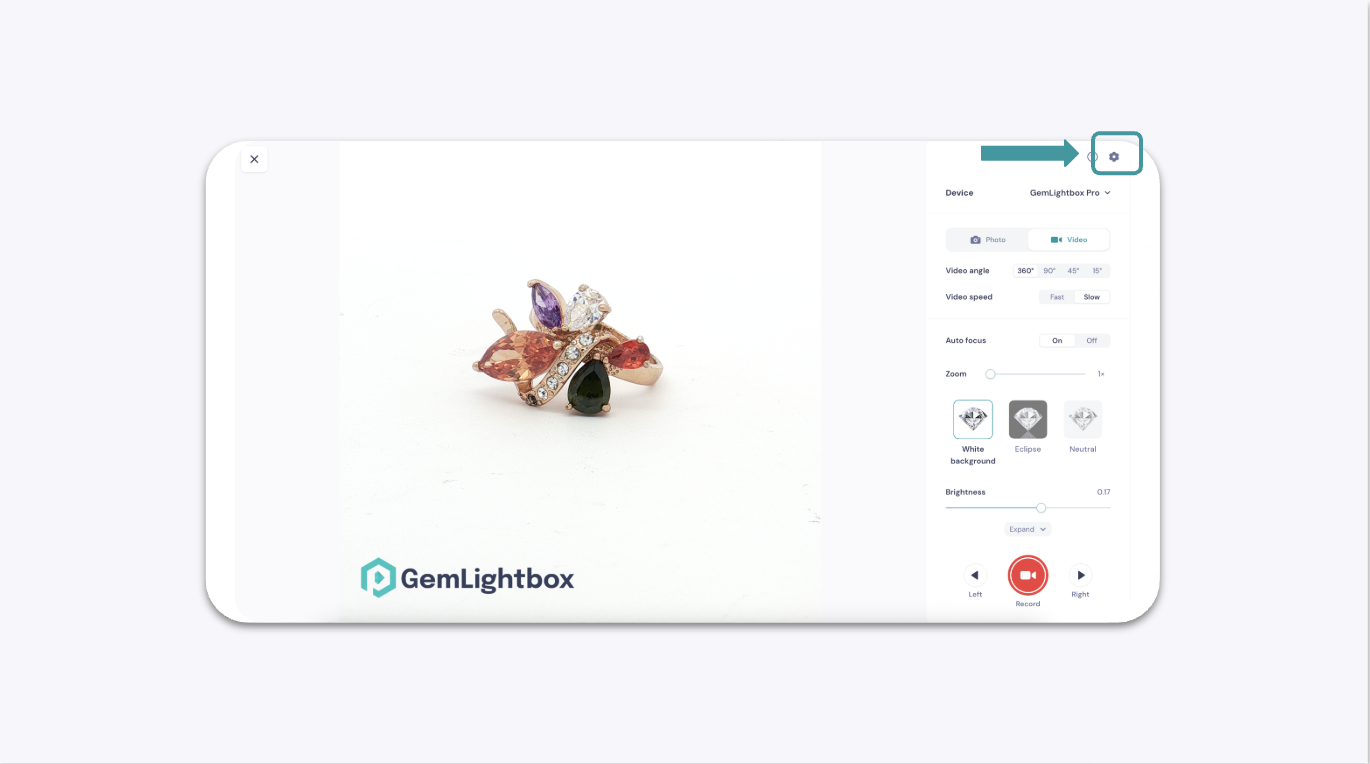
You can now access the GemCam Pro camera settings through the settings gear icon ⚙️on the top right of the GemCam Pro control panel. 
After clicking on the settings gear icon, you will be brought to the GemCam Pro settings window.

GemCam Pro AI Workflow Settings
You will now be able to control the photography and product listing settings now with our AI workflow.
 Auto-capture
This function allows you to automatically capture 4 photos while the video is recording.
Remove background
This allows you to automatically remove the background for each of the photos captured within a session.
Retouch images
This allows you to remove background automatically and perform AI retouching on each photo captured.
Create SKU
Automatically generate SKU for each of your products right after you complete your shots.
Autogenerate title and description
Automatically generate titles and descriptions as well as select the language you want them to generate in when you start shooting.
Detect product type
Allow us to automatically detect and generate your images for you to keep your GemHub organised.
Other Camera Controls
There are other controls that allow you to be able to control your image and video recording functions on the GemCam Pro. 
Adding Logo Watermark
You can now add a logo directly when shooting with the GemHub. This feature allows you to also determine the position of your logo per aspect ratio.
You may add up to 2 logos in one frame at any one time

Save media to local disk
This function allows you to be able to save your video and image files directly to the local drive on your computer as it is saving to your GemHub cloud storage.

You will be able to decide the location by which your files are saved locally as well as the format to save them in.
Should you be concerned about the amount of disk space in your computer, you will be able to reserve disk space for them as well by toggling the reserve disk space function.
Save photos as 300dpi
This allows you to save images at 300 DPI, preserving maximum detail at the captured size of your images.
Resolution
This setting displays the available aspect ratios along with their corresponding resolutions.
Selecting 16:9 provides the highest resolution available for images, up to 4K (3840 × 2160).
Choosing other aspect ratios, such as 1:1 or 3:4, will crop the image to fit those formats.
Show grid
Enabling the grid overlay in GemHub displays alignment lines on the preview screen.
This helps you center and position your jewelry consistently, making framing easier and reducing the need for cropping after capture.
Reset to default
This option allows you to reset all settings back to their original values. It is especially useful if you want to start over from scratch and make fresh adjustments.
